VMware purchased a company called Immidio earlier in the year for their personna management software and have since released it under VMware User Environment Manager (UEM). I have been interested in this and started first using it from the day it was released to see how it compares to other products such as Liquidware Labs ProfileUnity.
Installation is easy but getting the configuration right takes a little longer, the following is a guide to getting started with some basic configuration. Once its setup you can tailor the configuration for your environment. UEM can be purchased as a standalone SKU or with Horizon Enterprise or the Horizon Application Management Bundle.
The latest version as of writing is 8.7 and is available to download from the VMware portal.
Release notes are found here.
The administration guide is found here
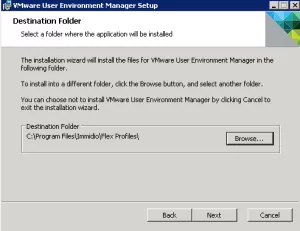
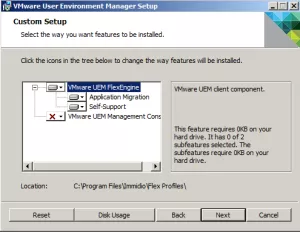
Download the media and run the setup file. Agree to the terms and select CUSTOM installation and make sure you have selected ‘VMware UEM Management Console”. Selecting a typical installation only installed the UEM agent which is used for endpoints, i’ll get on to this later.

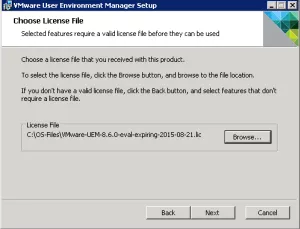
Browse to your license file and install it then finish
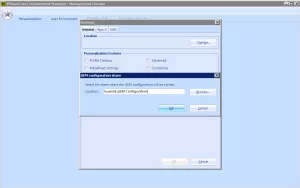
Fire up the UEM console that has been installed. You will be prompted for a configuration share. Create a folder on the server that will host the UEM console, in my case it is the same server as the console but it can be a share somewhere else such as a DFS share. Note - you can install another UEM console and point to the same share and the configuration will be available so using a DFS share or a centralised file server is beneficial.
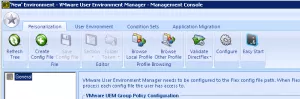
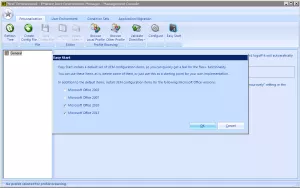
You will be presented if a blank console, you can create each policy manually but to get started select “Easy Start” button. If you want to capture any Microsoft Office proucts for users in your environment then select which version at this point
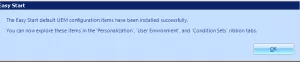
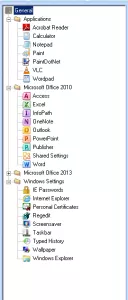
Now you will have configuration files for applications down the left hand side under “Personalization”. Leave this for now and move onto importing the required Group Policy templates
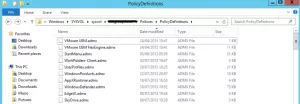
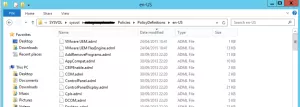
You must now import the required ADMX templates, the templates are downloaded with the media. Copy these up to a DC. Microsoft’s KB on how to import ADMX templates is found here. Copy the ADMX files to \\domain\SYSVOL\domain\Policies\PolicyDefinitions. Copy the ADML templates to \\domain\SYSVOL\domain\Policies\PolicyDefinitions\en-US
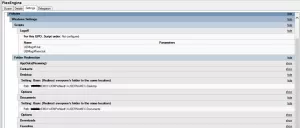
Once imported create a new GPO and call it FlexEngine. The settings you need are under -
User Configuration - Policies - Administrative Template - VMware UEM - FlexEngine
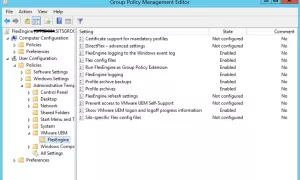
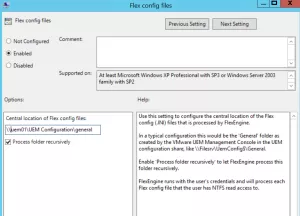
First enable logging for UEM and set the FlexEngine agent settings. This needs to point to the configuration share you setup when installing the console
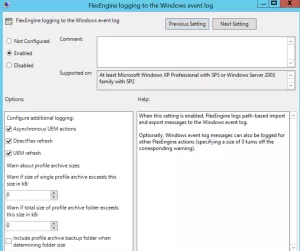
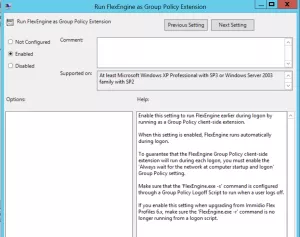
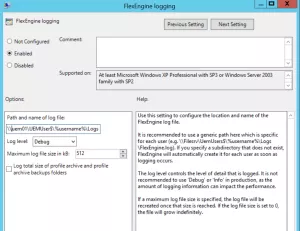
Now set the FlexEngine agent to run as a Group Policy Extension and set the FlexEngine logging. Logging requires a share path for each user. Again it is best to use a DFS share, in my setup it points to the same UEM server. Set the log level and the maximum size of the log
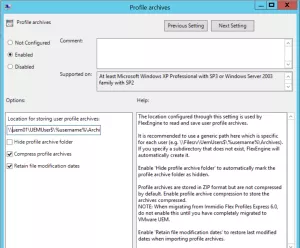
Now choose where the users profile archives will be stored. This is where the user specific exported section of the profile will be saved. For instance we imported the configuration details for MS Word, when the user logs in and uses Word then as they log of those changes are saved to this location. The same applies for each configuration you setup such as Internet Explorer setting. Again this should be on a DFS share and may well be a dedicated profile server depending on the size of your environment. You can choose to hide the share so only admins can see the data and choose to compress the folder or not.
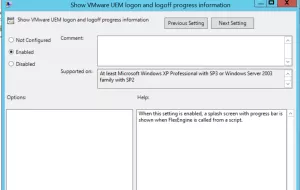
Finally configure if the UEM splash screen appears for users as they log on
Save the GPO and apply it to where the desktops will reside. Where possible create a new OU and manage the desktops from here, point any Linked Clones to this OU.

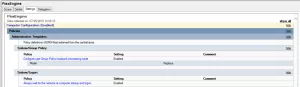
UEM is designed to compliment existing profile design methods weather thats local profiles, roaming profiles, mandatory profiles or redirected folders. If your environment already has a design for this in place then skip the next part. In my case I will be setting up redirected folders. Redirected folders will direct any specific folder such as the users desktop to a remote share. For View setups using Linked Clones this works fine and is quick. Edit the GPO you just created, you can create a new one if you want of course. First enable loopback processing mode so the UEM user settings are only applied to specific desktops - View desktops. Enabling “Always wait for the network at computer startup and logon” is recommended.
Computer Configuratiuon - Policies - Administrative Templates - System/Group Policy
Computer Configuratiuon - Policies - Administrative Templates - System/Logon
Now enable the redirected folders. Decide which folder you want to redirect and select the share. This can be on a DFS share and for ease of management it can be the same location as to where the UEM archives are.
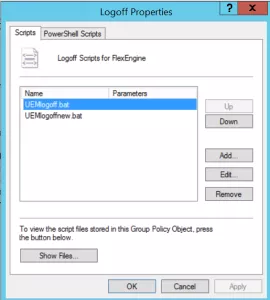
As we are running UEM as a Group Policy Extension you must call a log off script to save the users settings to their archive. Create a batch file and add the following, change the install location if it is different for you.
“C:\Program Files\Immidio\Flex Profiles\FlexEngine.exe” -s”
Each desktop now requires the FlexEngine to be installed. Run the same setup as the UEM console but this time select a typical setup and reboot. Make sure the desktops are under the OU that the FlexEngine GPO is linked to and the required UEM settings will be applied via GPO.
For Linked Clone desktops make sure to install the agent in the gold image and recompose the desktop pool and that the GPO is linked to the OU where these desktops are deployed to.
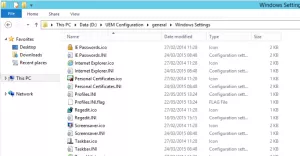
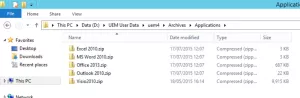
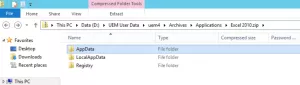
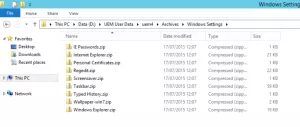
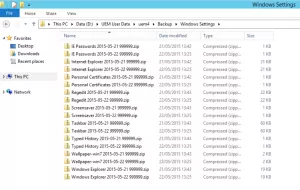
Thats it in terms of initial setup. Now lets take a look as to what is saved to disk for UEM. Browse the configuration share and you will see the applications and windows setting that were setup under ‘Personalization” during the quick start.

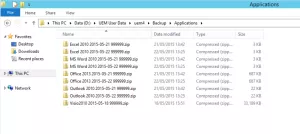
As users log on and log off their archive will be saved to the location you set.
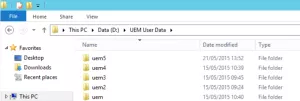
Note the the backup folder we set for each archive
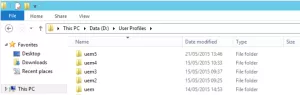
We also have users redirect profiles in the folder location we set
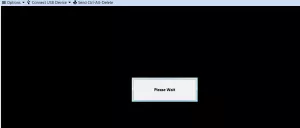
Now UEM can be tailored to your environment. A few initial tips are as follows. You first want to disable the Windows 7 active setup black screen, you will see this on every log on for Linked Clone desktops.
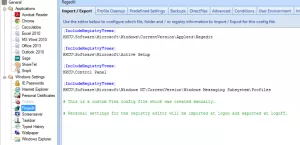
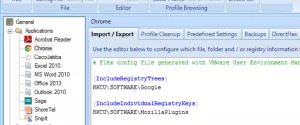
Go to Personalization - Windows Settings - Regedit and add the following reg keys. These will be saved after the users first initial login then the black screen will not appear again on new desktops
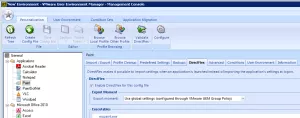
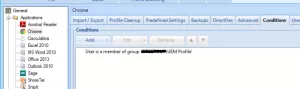
Each application setting under Personalization will be configured specifically for that application. These setting can be configured based on conditions such as AD usergroups. For instance Google Chrome is setup for users that belong to “UEM Profile” AD group. UEM has a optional component called “VMware UEM Application Profiler” that will analyse any of your applications and will record which files are changed when in use. These locations are recorded to a config file that you can upload to UEM. I will cover this in another blog. User Environment settings can be added to each application to do things like map drives / map printers / import registry settings on each application launch then remove these once the application is closed - that pretty cool right?
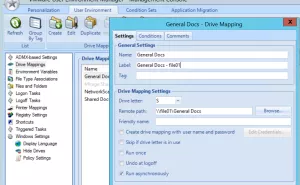
If we now move to “User Environment” in the UEM console you will see where to configure settings such as mapped drives and mapped printers, basically any settings that are not linked to applications.
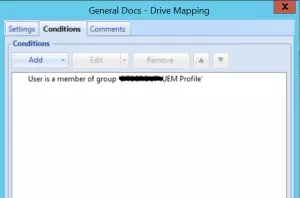
First Drive Mappings lets you map network drives to specific users again based on conditions such as AD groups.
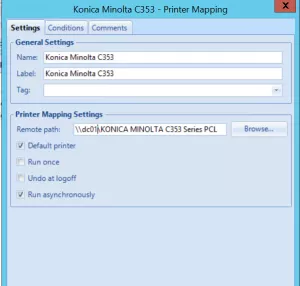
The same can be done for printers
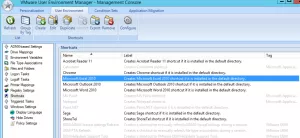
As we ran the Quick Start setup a few settings will be automatically configured to demo UEM, for live environments though you may want to disable these. One of these is a logon task to delete the start menu. The idea is to remove the menu for users and only present them with shortcuts for the applications they need.

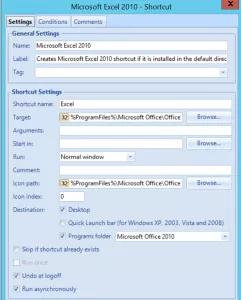
Shortcuts can be configured and specified to condition sets such as AD groups
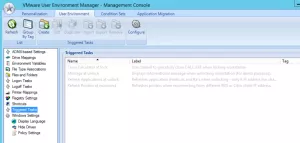
Check Triggered Tasks for any demo task automatically setup and remove any you dont need for production
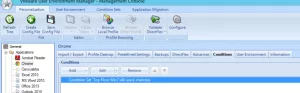
One cool option is to create your own condition set for the above settings, you can create sets based on AD groups / IP ranges / OS types ect. For instance a floor in your building might only need access to certain printers or file shares or even there own applications. Select the “Condition Sets” tab at the top of the console and create a new one, below is an example
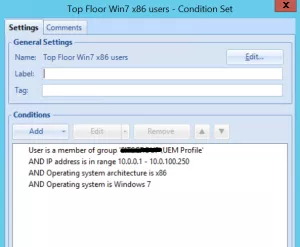
That condition set can then be applied to applications or windows settings
Application can also have DirectFlex enabled. This is a cool feature that lets the user configure an application how they want to, such as change ribbons / task bars, then as the user closes the application those settings are saved without the need to log off. That user can then log onto another machine managed by UEM and those same settings applied without that user ever logging on or off. Enable this feature where you can. Use the “VMware UEM Application Profiler” to capture your apps and upload them to UEM, this way you will be able to use DirectFlex. I will cover the Application Profiler on another blog